LDShammy’s Ultimate Shaman Guide
EU1 Rank 1 | Cross Server Rank 1
Discord: simplyburak
Crystals
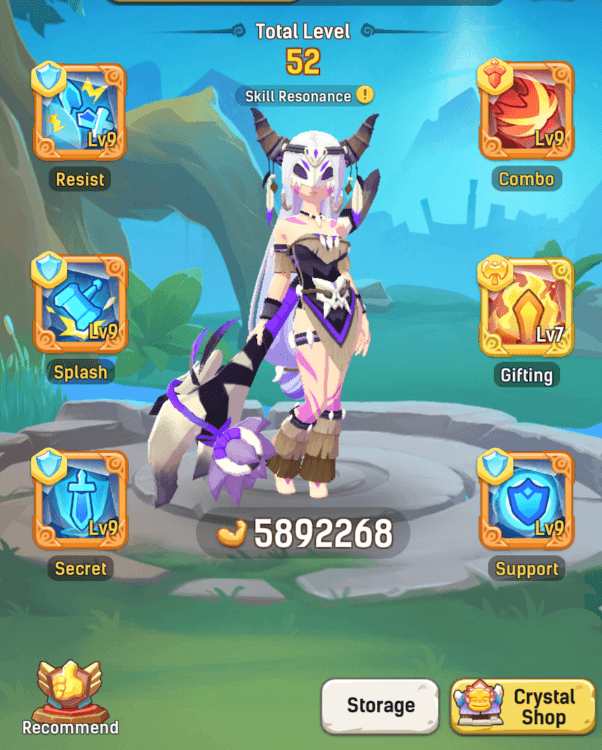
This is for very endgame stuff since the bosses hit so hard, we need to equip some defensive crystals. Additionally, Gifting 7 can be changed to Gifting 9. Since my team consists of a Mage (Minuscule) and an Assassin (Dasvdon), it’s easier to time the transform with Gifting 7 for me. Therefore, observe the team transformations and decide on which one to use.
- Pursuing -> After you use a skill, your next attack does additional damage.
- Combo -> Damage on transform, and also a healing totem
- Support -> Healing after 100 charging points
- Gifting -> Aggression points for each skill you cast
- Secret -> Rage limit increases to 100 and does damage every time you get to 100.
- Charging -> Rage limit increases to 200, and you gain rage every 8 seconds.
Attribute Crystals
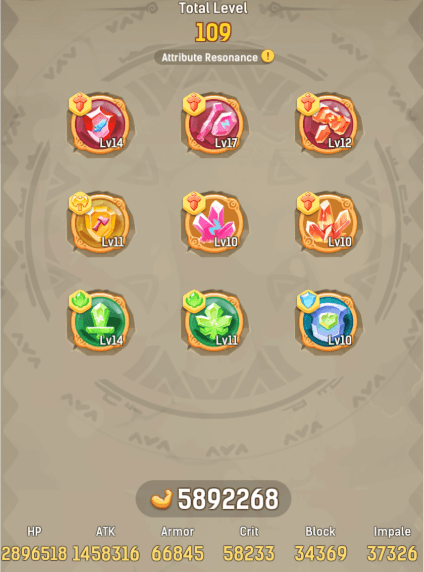
Attribute crystals are pretty much straight-forward also. Just equip the highest ATK/CRIT/HP combo you can. This part of the game is pretty old so not much mechanics going on there.
Pets & Pet Skills
With statues update, at the endgame at least, the biggest damage comes from statues. However, if you are just starting the game, pets do the highest damage for you. There are 4 sets that I want to talk about. From the most free to play friendly to the most pay to win.
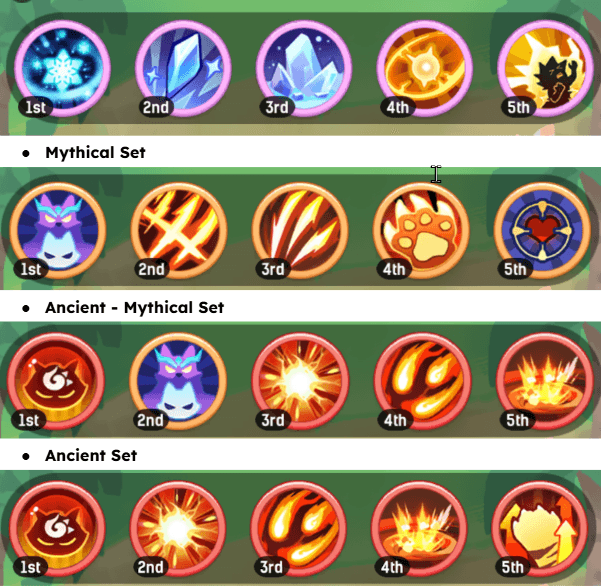
If you are one of the fortunate ones that is able to spend money on this game, you can directly unlock the Core and Flames skill from the ancient set and voila, you will do more damage than the previous sets unless your mythic set is level 15. Some people prefer to remove the Explosion skill and slot in the ATK Enhancement skill on Ancient – Mythical Set.
Clatter Cards
Your goal here is simple: maximize your healing so your statues can turn that healing into damage. I keep other clatters just in case a long awaited update comes to clatter cards or just the meta changes.
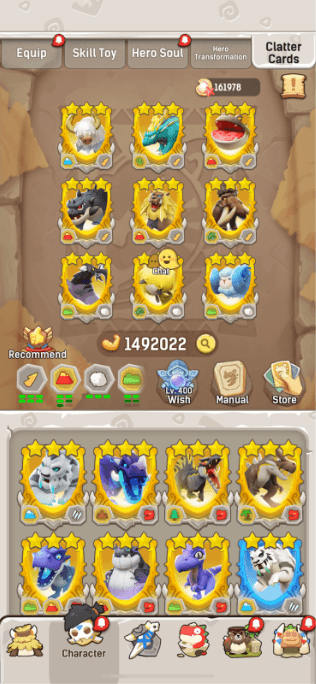
- 6x Solid Bone – These give your basic attacks extra healing effects, which then fuel your statues for more damage.
- 3x Fluff – Starts the fight with 1 energy.
Toys
Toys are really important pieces in your fights. They can provide extra damage, healing, interruption, cleansing, immunity to death etc. Additionally, with the addition of Monster Lair to the game, every toy is important as the more you progress in the lair the more slots you get to put skill and toys in. Therefore I try to unlock all the toys but I will go over the most used ones;
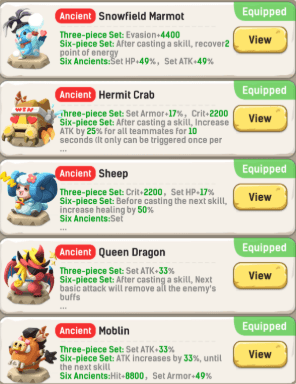
Snow Marmot is used to let us get 2 free energy.
Hermit Crab is the most important one as it gives a damage boost. Try to time this getting activated just before you transform.
Sheep buffs our healing which also means our damage with vitality statue.
Queen Dragon is a situational toy, we use this one to remove the buffs on the boss.
Moblin is used to increase our ATK. This is really important for the dummy.
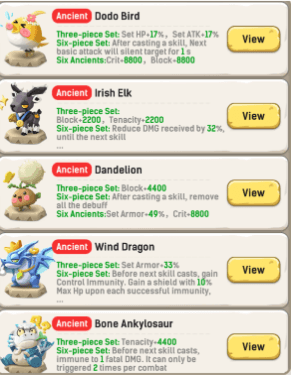
The Dodo Bird is another situational toy that will silence the boss. This can really clutch the boss sometimes.
Elk is good if you take a lot of damage but I RARELY use this.
Dandelion is another situational toy and is a really good one that removes all the debuff on you.
Lastly, very situational but important toy, bone anky makes you immune to a dmg that would kill you only once.
Giant Abilities
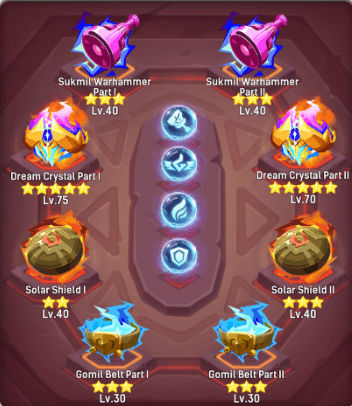
The set can change according to the boss you are facing, you can put out Sukmil to put more Rune Def abilities. However, generally this is the best set you can use. Again, there is not much to talk about here.
Pet Morphs
There are 3 different main options for morphs. However, every morph has their own buffs like:
- Steel-Scaled Marine Dragon: Gives +1.5% HP, also Necrosis which reduces boss damage and buff to your damage. Only 1 is advised on the team so if the tank has it don’t prioritize but if not, best one for the team to have.
- Oblivion: Gives +1.5% Armor, also gives 60% more to elemental multiplier so that you can break the shield easier. Additionally, it gives armor penetration.Best one to get in my opinion as the boss shield is huge after Skoll.
- Eastern Flame Dragon: Gives +1% ATK, also gives 35% damage bonus. Performs better than Oblivion at earlier stages.
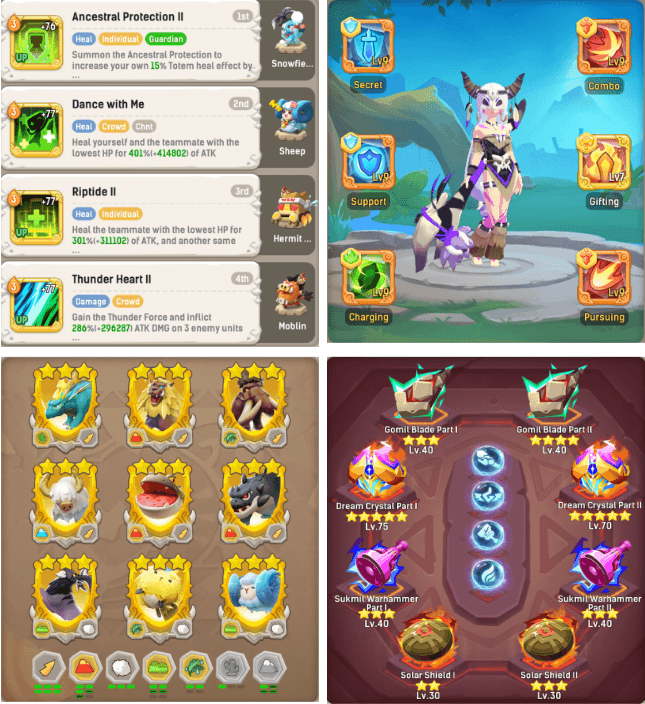
Skills

Priorities in my opinion are listed with red numbers on top of the skills. I showed only 5 skills as those are enough.
These priorities are also important for statues.
Dummies
For the red dummy we use a different set of skills, Riptide to buff the healing of other skills, thunder heart to buff out AA and Dance with Me for the highest % healing. Ancestral Protection is the most important skill which you will understand in the next section. For black dummy, only put the totems and font of purge in and keep the ancestral protection.
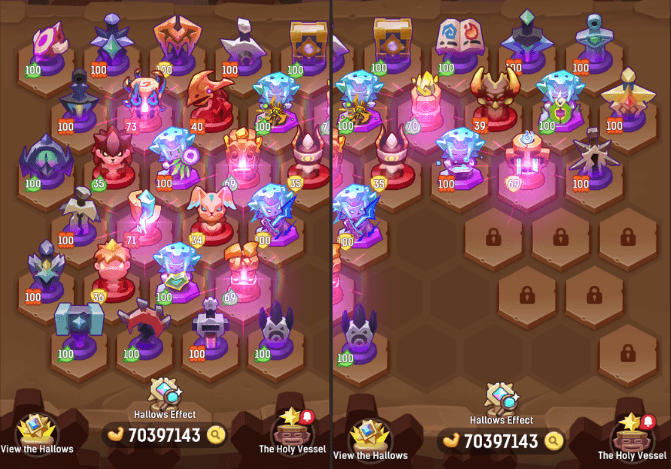
Statues
With the addition of 3 new statues to the Meow-Ha event, we have 11 statues in total. Let’s go over them one by one by their rankings (order to get)
PS: I name the statues with their skill names.
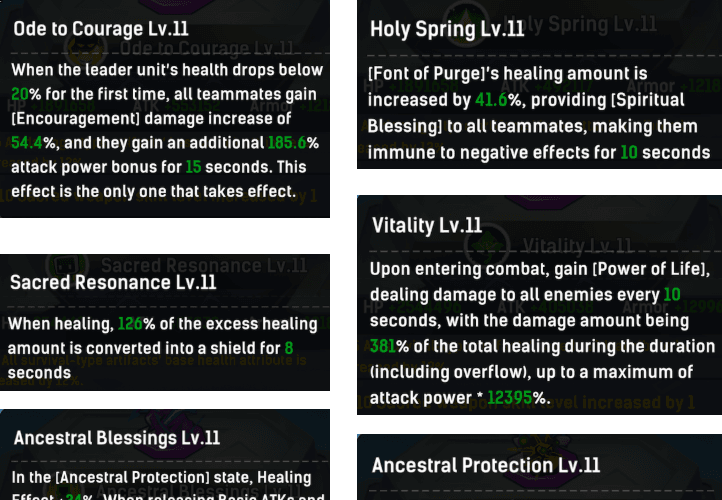
- Ancestral Blessings -> This is the most important statue for shamans. This lets our auto attacks also heal. (To activate it you need to use the Ancestral Protection skill. After you cast it, you will get the effect.)
- Ode to Courage -> Simply a hermit toy which gets activated when the boss hp hits 20%. Very powerful, is a must have. (If healing is not a problem switch with 1)
- Vitality -> This statue lets you go BRRRRRR!!! Every 10 seconds, the healing you do is added up and turned into a damage. This is the sole reason why Nr. 1 is the most important statue. At low levels this totem lets you do more than other dd’s.
- Holy Spring -> This extends the purge skills immunity to 10 seconds and also increases the healing done by Font of Purge. Because of immunity this is very good since we are able to cast this at least 2 times its 20 seconds of immunity to any debuff.
- Ancestral Protection -> This gives stacks to your teammates every 10 seconds where when they attack one stack is used to heal them. Very good passive healing statue.
- Sacred Resonance -> Over-healing turns into a shield. Decent one to have if you have a spot but definitely not a must have.
- Heroic Blessing -> Increases our hero transform damage. Since we are healers, there are better statues to slot in thanks to damage from vitality.
This is the order I would get and max them. Now I named the statues under here A,B,C,D since they are occasional. So let’s assume that the boss is kicking your whole team’s ass and you need more dmg reduction/team healing. Slot out Vitality and slot in A. This was not enough? Slot out Sacred Resonance and slot in Spring Erosion. I created the guide for single target healing with one AoE healing (Font of Purge).
- Regeneration Totem -> Occasionally one of the best defensive statue. After you cast recovery totem skill, a mini totem is spawned which reduces the damage taken by your teammates greatly. Situational statue but a good one.
- Totem Awakenings -> This only increases the healing your totems does and adds 1 second to the duration of the totems.
- Ancestral Enlightenment -> This increases the cast type healing skills effect by some amount. It gets activated by a pretty bad skill so skip this for sure.
Meow-Ha Statues
- Spring Erosion -> This one lets spring totem to be a viable skill and decreases ATK value of the enemy for 6 seconds. Occasional statue but a decent one.
These are the buffs I get from the statues:
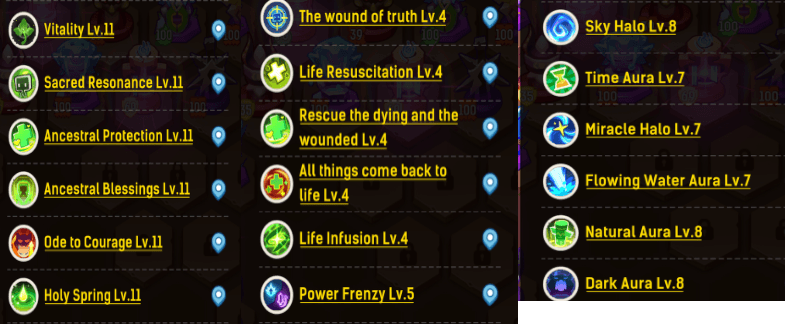
You can see exactly what every single statue does from the images. These are the ones that I maxed.
TL;DR
- 302 attributes
- Pet skills 3 ice, 2 lightning. When Ramp or tear is 10, use it with a mark. After they all get to 15, use the mythic set. After that, you can get to the ancient set. If you are spending, you can directly start with ancient pet skills as they are the best.
- Check bonds and try to get those pets/skills first as they provide nice ATK.
- Toys are the backbone of the passing stages as they provide really good buffs, try to get snow marmot, moblin, sheep, hermit crab.
- Primal Pets, they don’t do much damage. Therefore, just copy what I have. But they can be a hıge help for killing ads that bosses spawn.
- Giant Abilities, try to get dream set and gomil set as they are the most beneficial ones. Focus on leveling up the place that you put dream set on.
- Statues -> Ancestral Blessing -> Vitality -> Ode of Courage (this can also be the second place if you don’t need more healing. However, always get the vitality set after you get the ancestral blessing statue.) -> Holy Spring -> Sacred Resonance -> Ancestral Protection -> Heroic Blessing
- Don’t forget that you can refresh the statue draw you got and change it to something you need.
- Morph -> Try to get 35% for dummy and dmg. After skoll, you need the elemental shield one (oblivion).
- Don’t miss out on daily stuff like doing gourmet 4 times, or buying from shops.
- Ancient Store -> Mythic Skill, Hero Hill Shop -> Mythic Skill and any voucher you missing for weekly events, Clan Shop -> Prioritize souls as they are the hardest to get, and then focus on with stones.
- Try to upgrade your gear stars and tier anytime you can as it becomes costly later on. This also means that you do your bunny every day and don’t forget to do weekly bunny attempts.
- Don’t sleep on tempers are the amount you get becomes very high as time passes.